[TOC]
说明: 下列文章主要对尚硅谷《SpringBoot视频教程》的总结,下列文字描述来源他们的课件。
视频地址: https://www.bilibili.com/video/av38657363/?p=9
spingboot版本2.1.5.RELEASE
处理包导入问题
pom.xml
<parent>
  <groupId>org.springframework.boot</groupId>
  <artifactId>spring-boot-starter-parent</artifactId>
  <version>2.1.5.RELEASE</version>
  <relativePath/>
</parent>
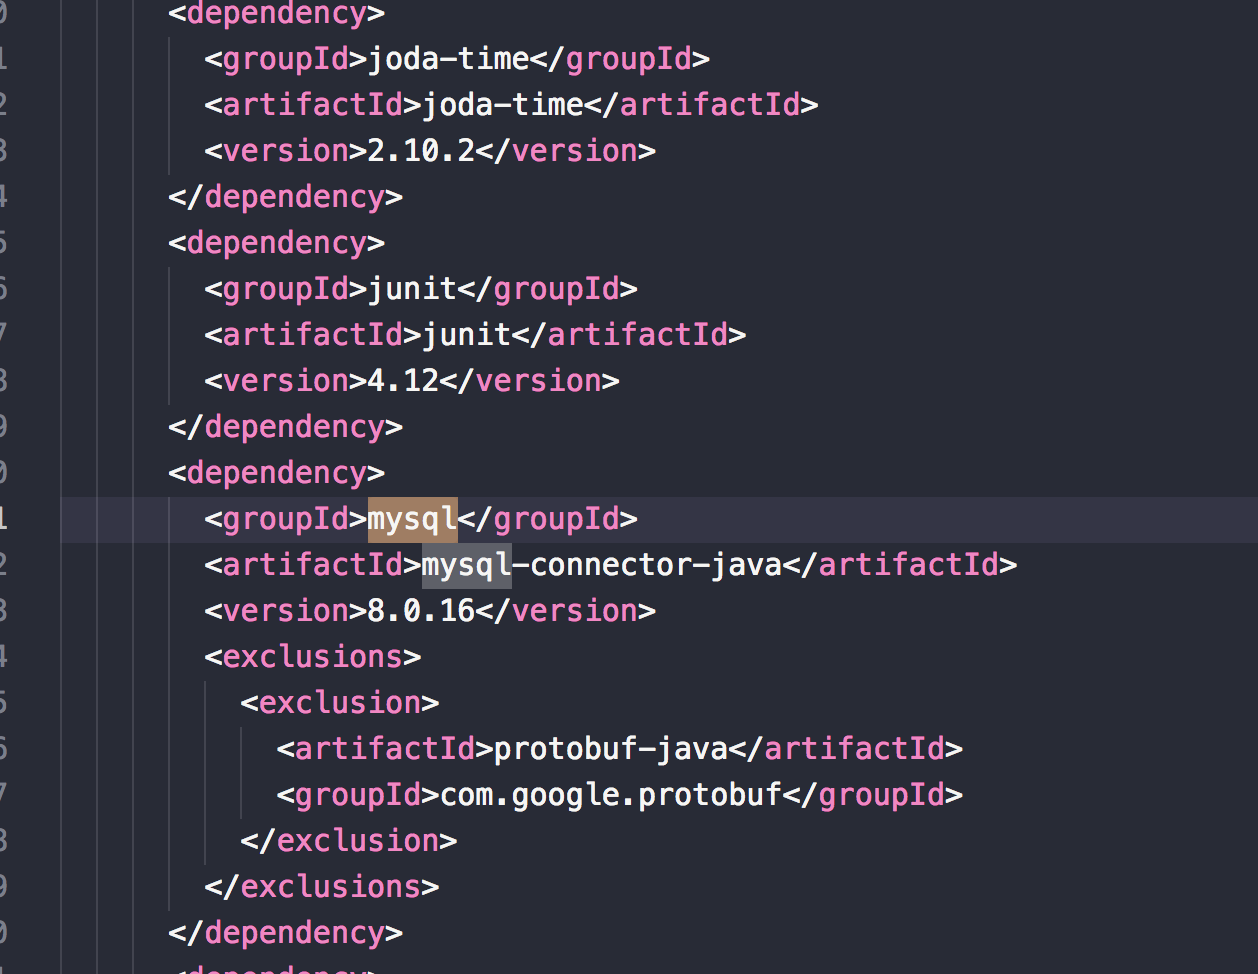
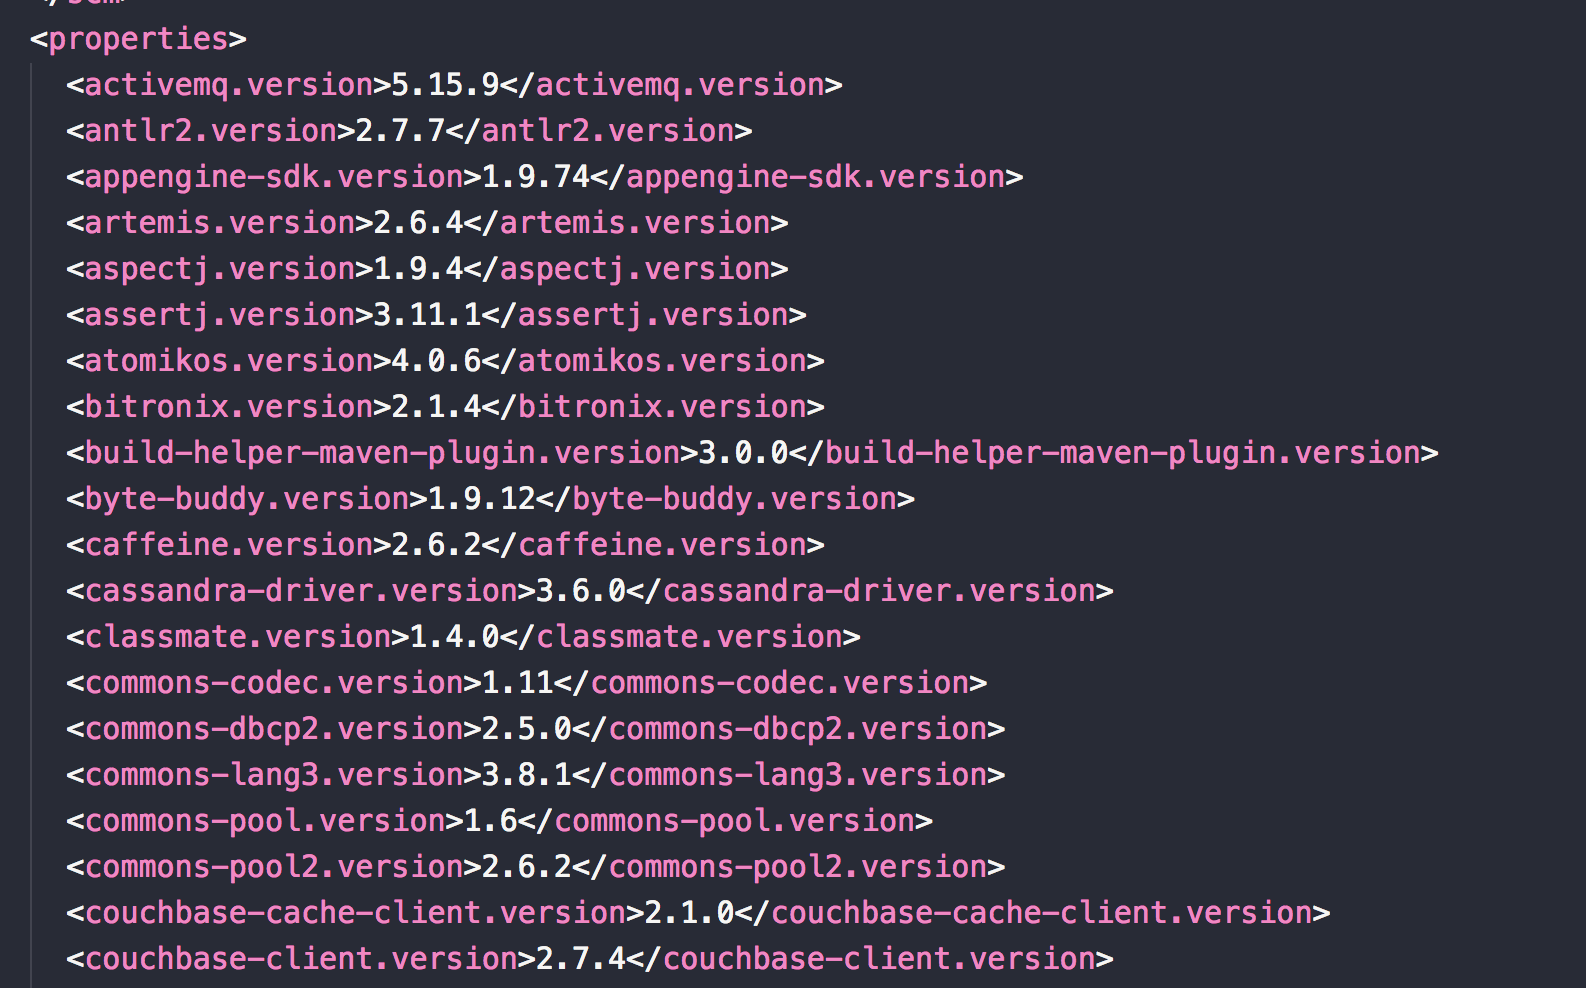
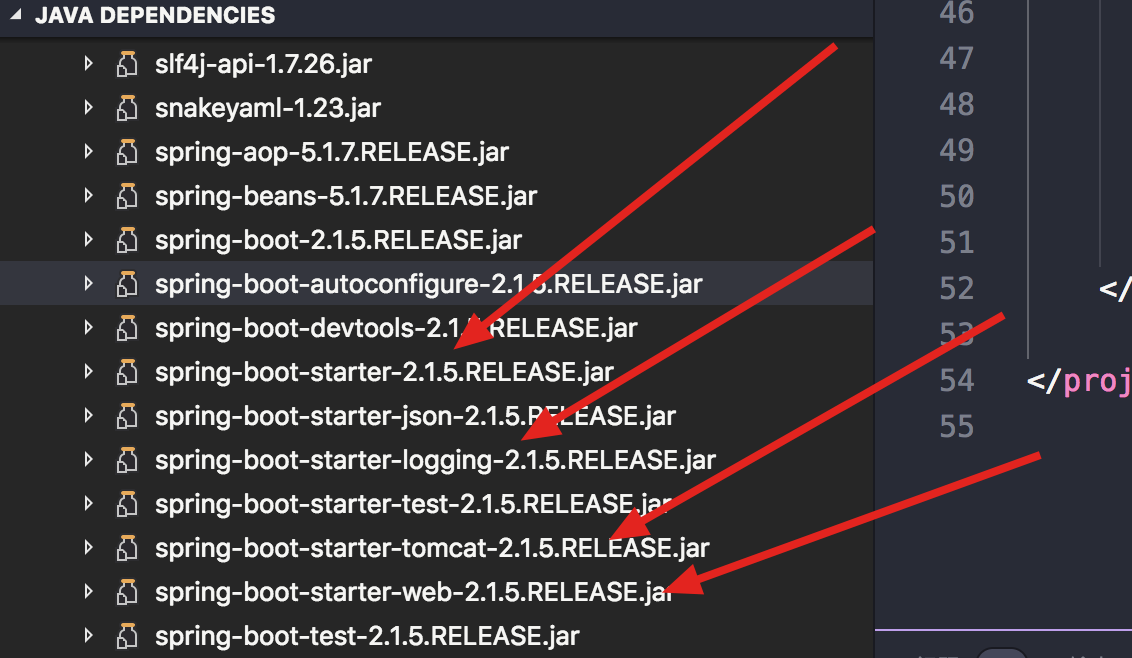
用vscode中,显示所有依赖,所有需要的包和对应的版本都已经处理好的了。如下:
spring-boot-starter
spring-boot-starter:spring-boot场景启动器;帮我们导入了web模块正常运行所依赖的组件;
Spring Boot将所有的功能场景都抽取出来,做成一个个的starters(启动器),只需要在项目里面引入这些starter相关场景的所有依赖都会导入进来。要用什么功能就导入什么场景的启动器
扫描所有包导入所有类
@Target(ElementType.TYPE)
@Retention(RetentionPolicy.RUNTIME)
@Documented
@Inherited
@SpringBootConfiguration
@EnableAutoConfiguration
@ComponentScan(excludeFilters = {
		@Filter(type = FilterType.CUSTOM, classes = TypeExcludeFilter.class),
		@Filter(type = FilterType.CUSTOM,
				classes = AutoConfigurationExcludeFilter.class) })
public @interface SpringBootApplication {
点击@EnableAutoConfiguration
@Target(ElementType.TYPE)
@Retention(RetentionPolicy.RUNTIME)
@Documented
@Inherited
@AutoConfigurationPackage
@Import(AutoConfigurationImportSelector.class)
public @interface EnableAutoConfiguration {

	String ENABLED_OVERRIDE_PROPERTY = "spring.boot.enableautoconfiguration";
点击@AutoConfigurationPackage
@Target(ElementType.TYPE)
@Retention(RetentionPolicy.RUNTIME)
@Documented
@Inherited
@Import(AutoConfigurationPackages.Registrar.class)
public @interface AutoConfigurationPackage {

}
查看Registrar类,debug如下:
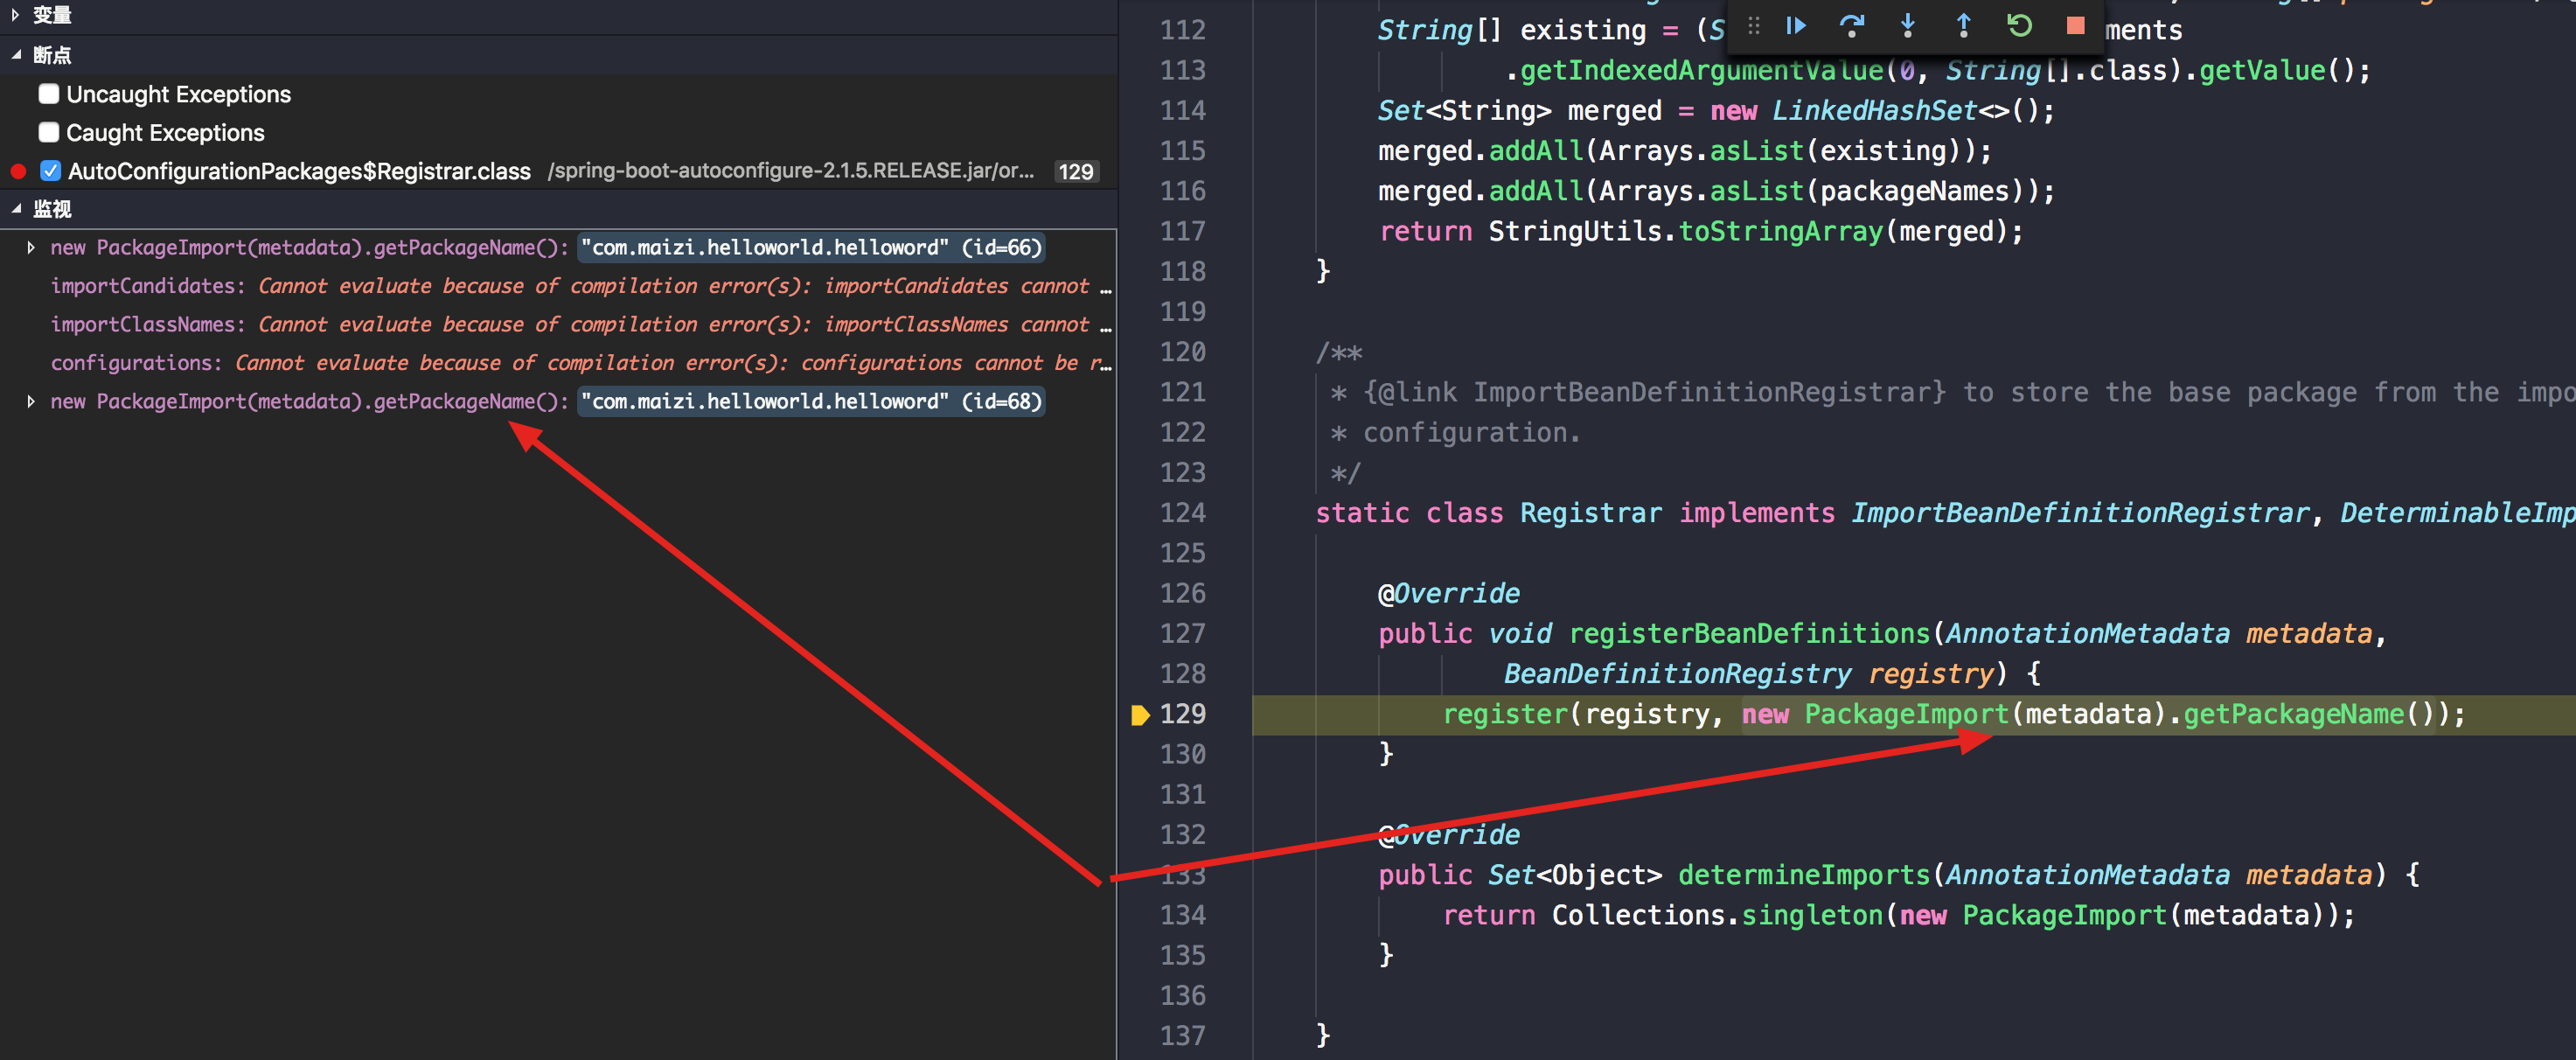
查看项目目录结构,注意其中的主配置类(@SpringBootApplication标注的类)目录
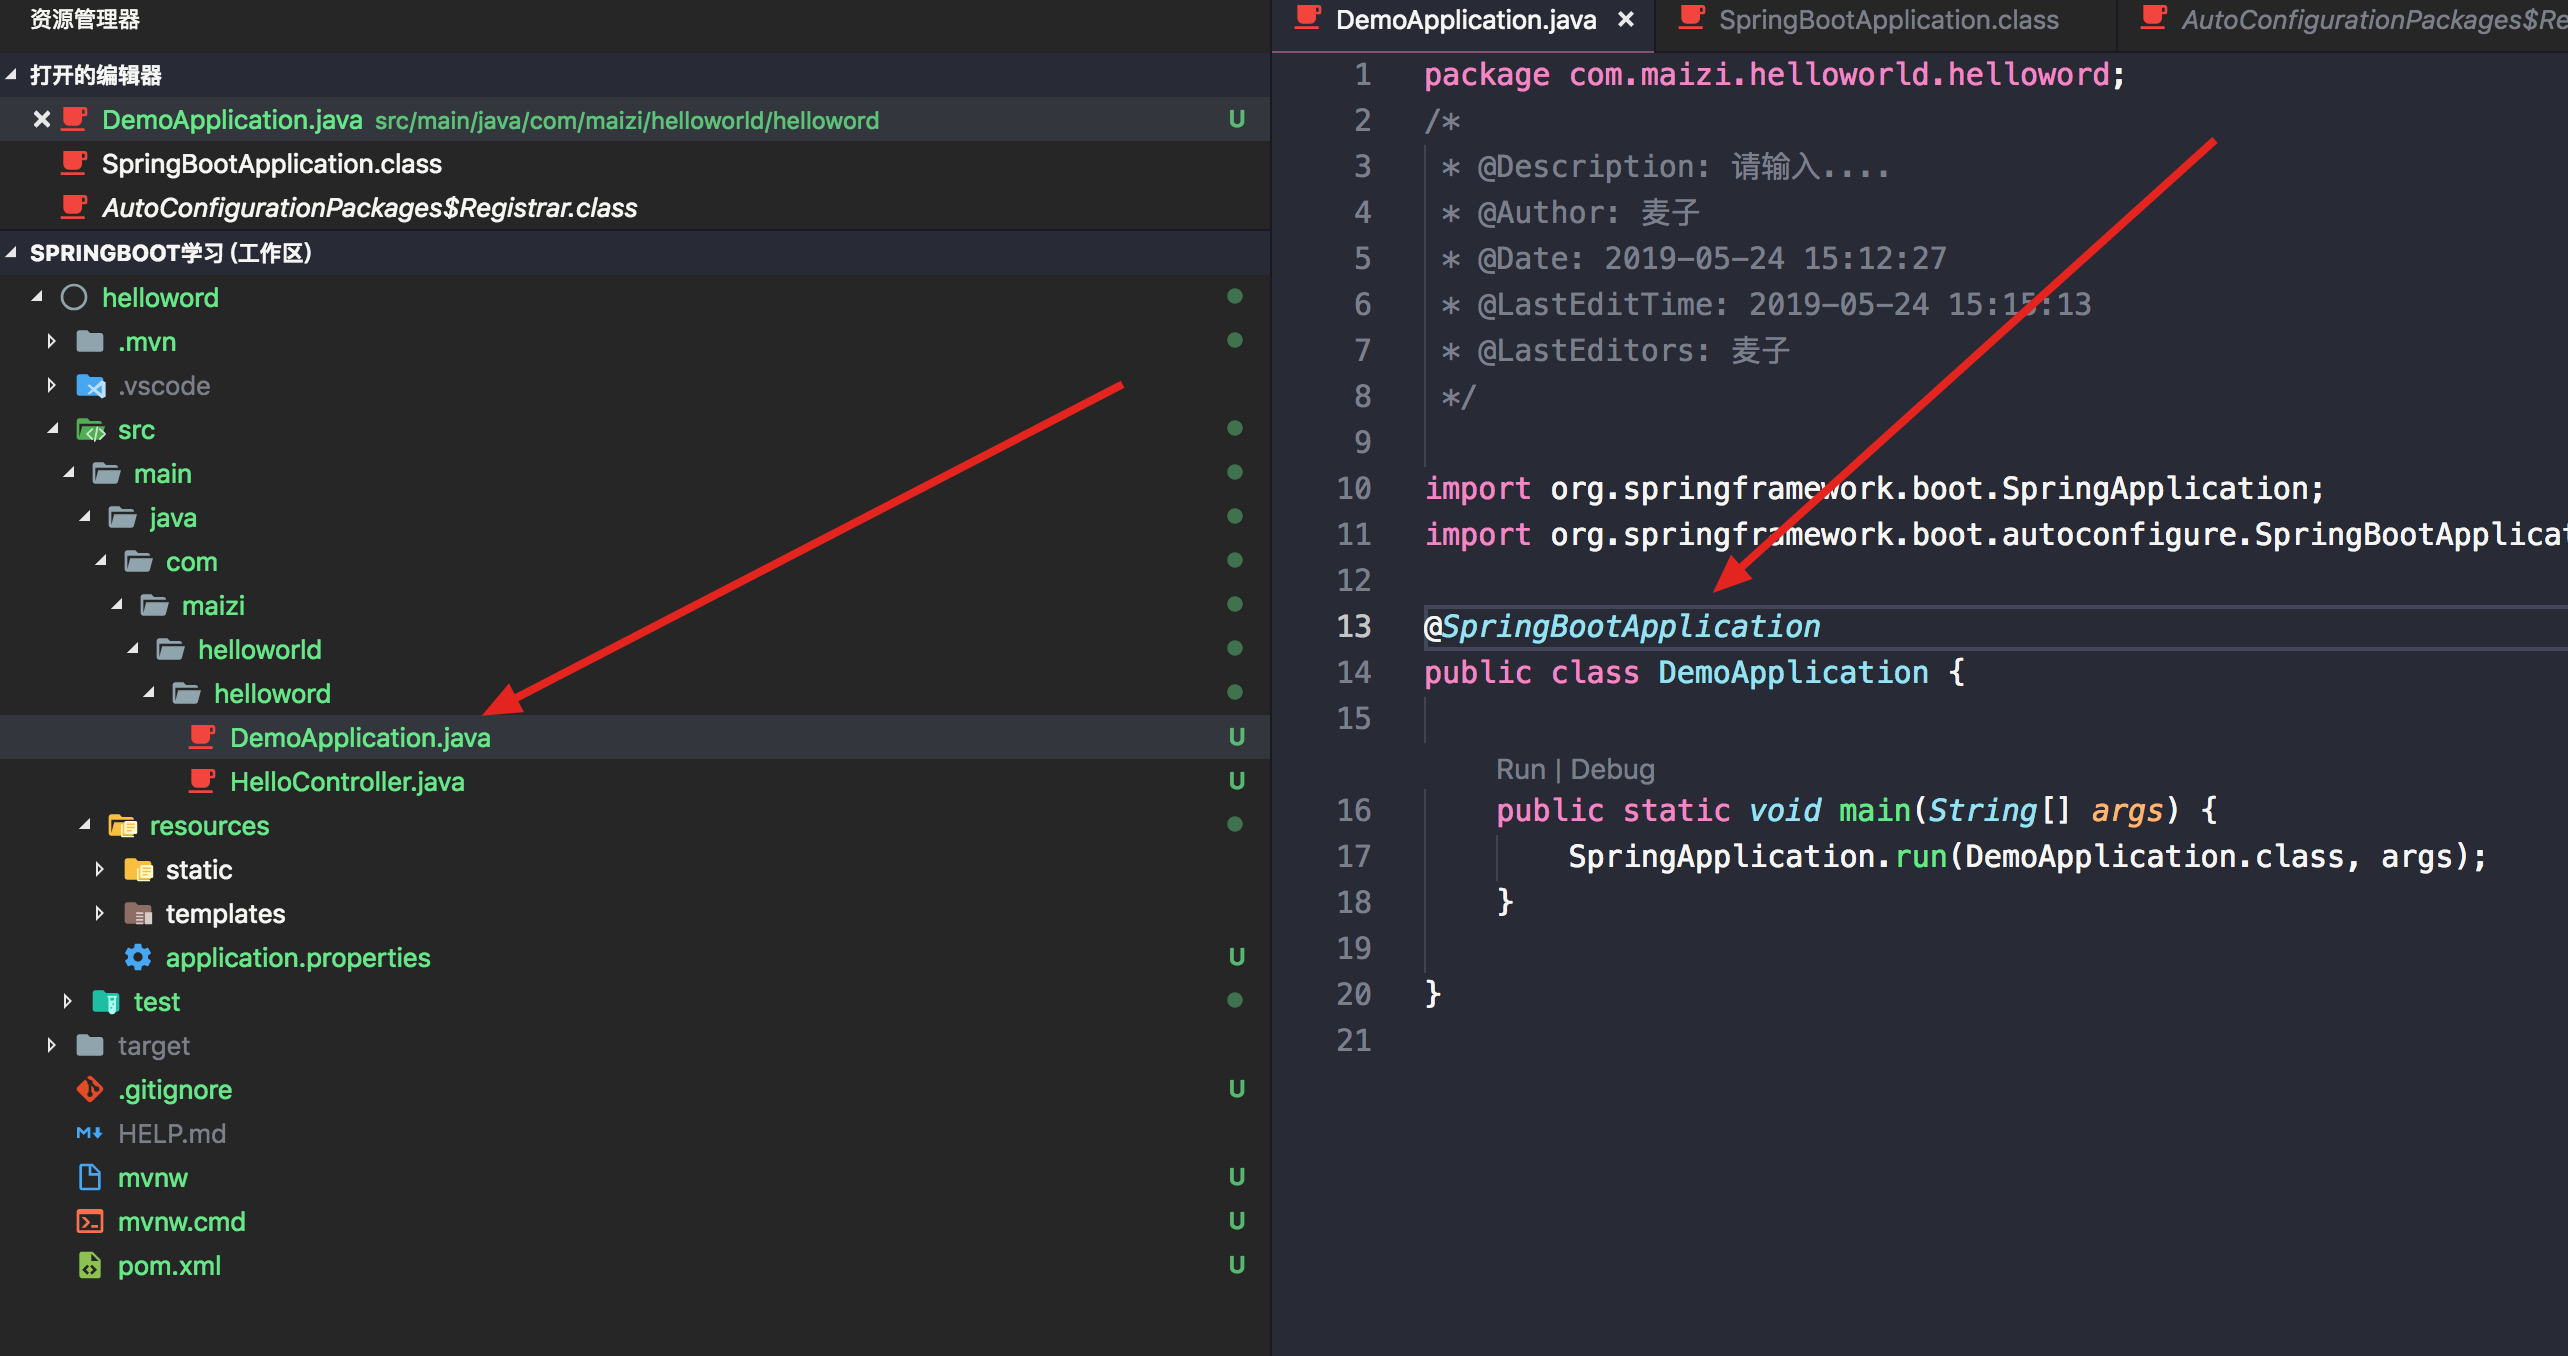
由上面可以看到,他加载了所有**“com.maizi.helloworld.helloword”**目录下的所有类。
这样,将主配置类(@SpringBootApplication标注的类)的所在包及下面所有子包里面的所有组件扫描到Spring容器;
加载默认配置文件
分别点击:
-
@EnableAutoConfiguration
-
@Import(AutoConfigurationImportSelector.class)
进去AutoConfigurationImportSelector类, debug查看结果如下:
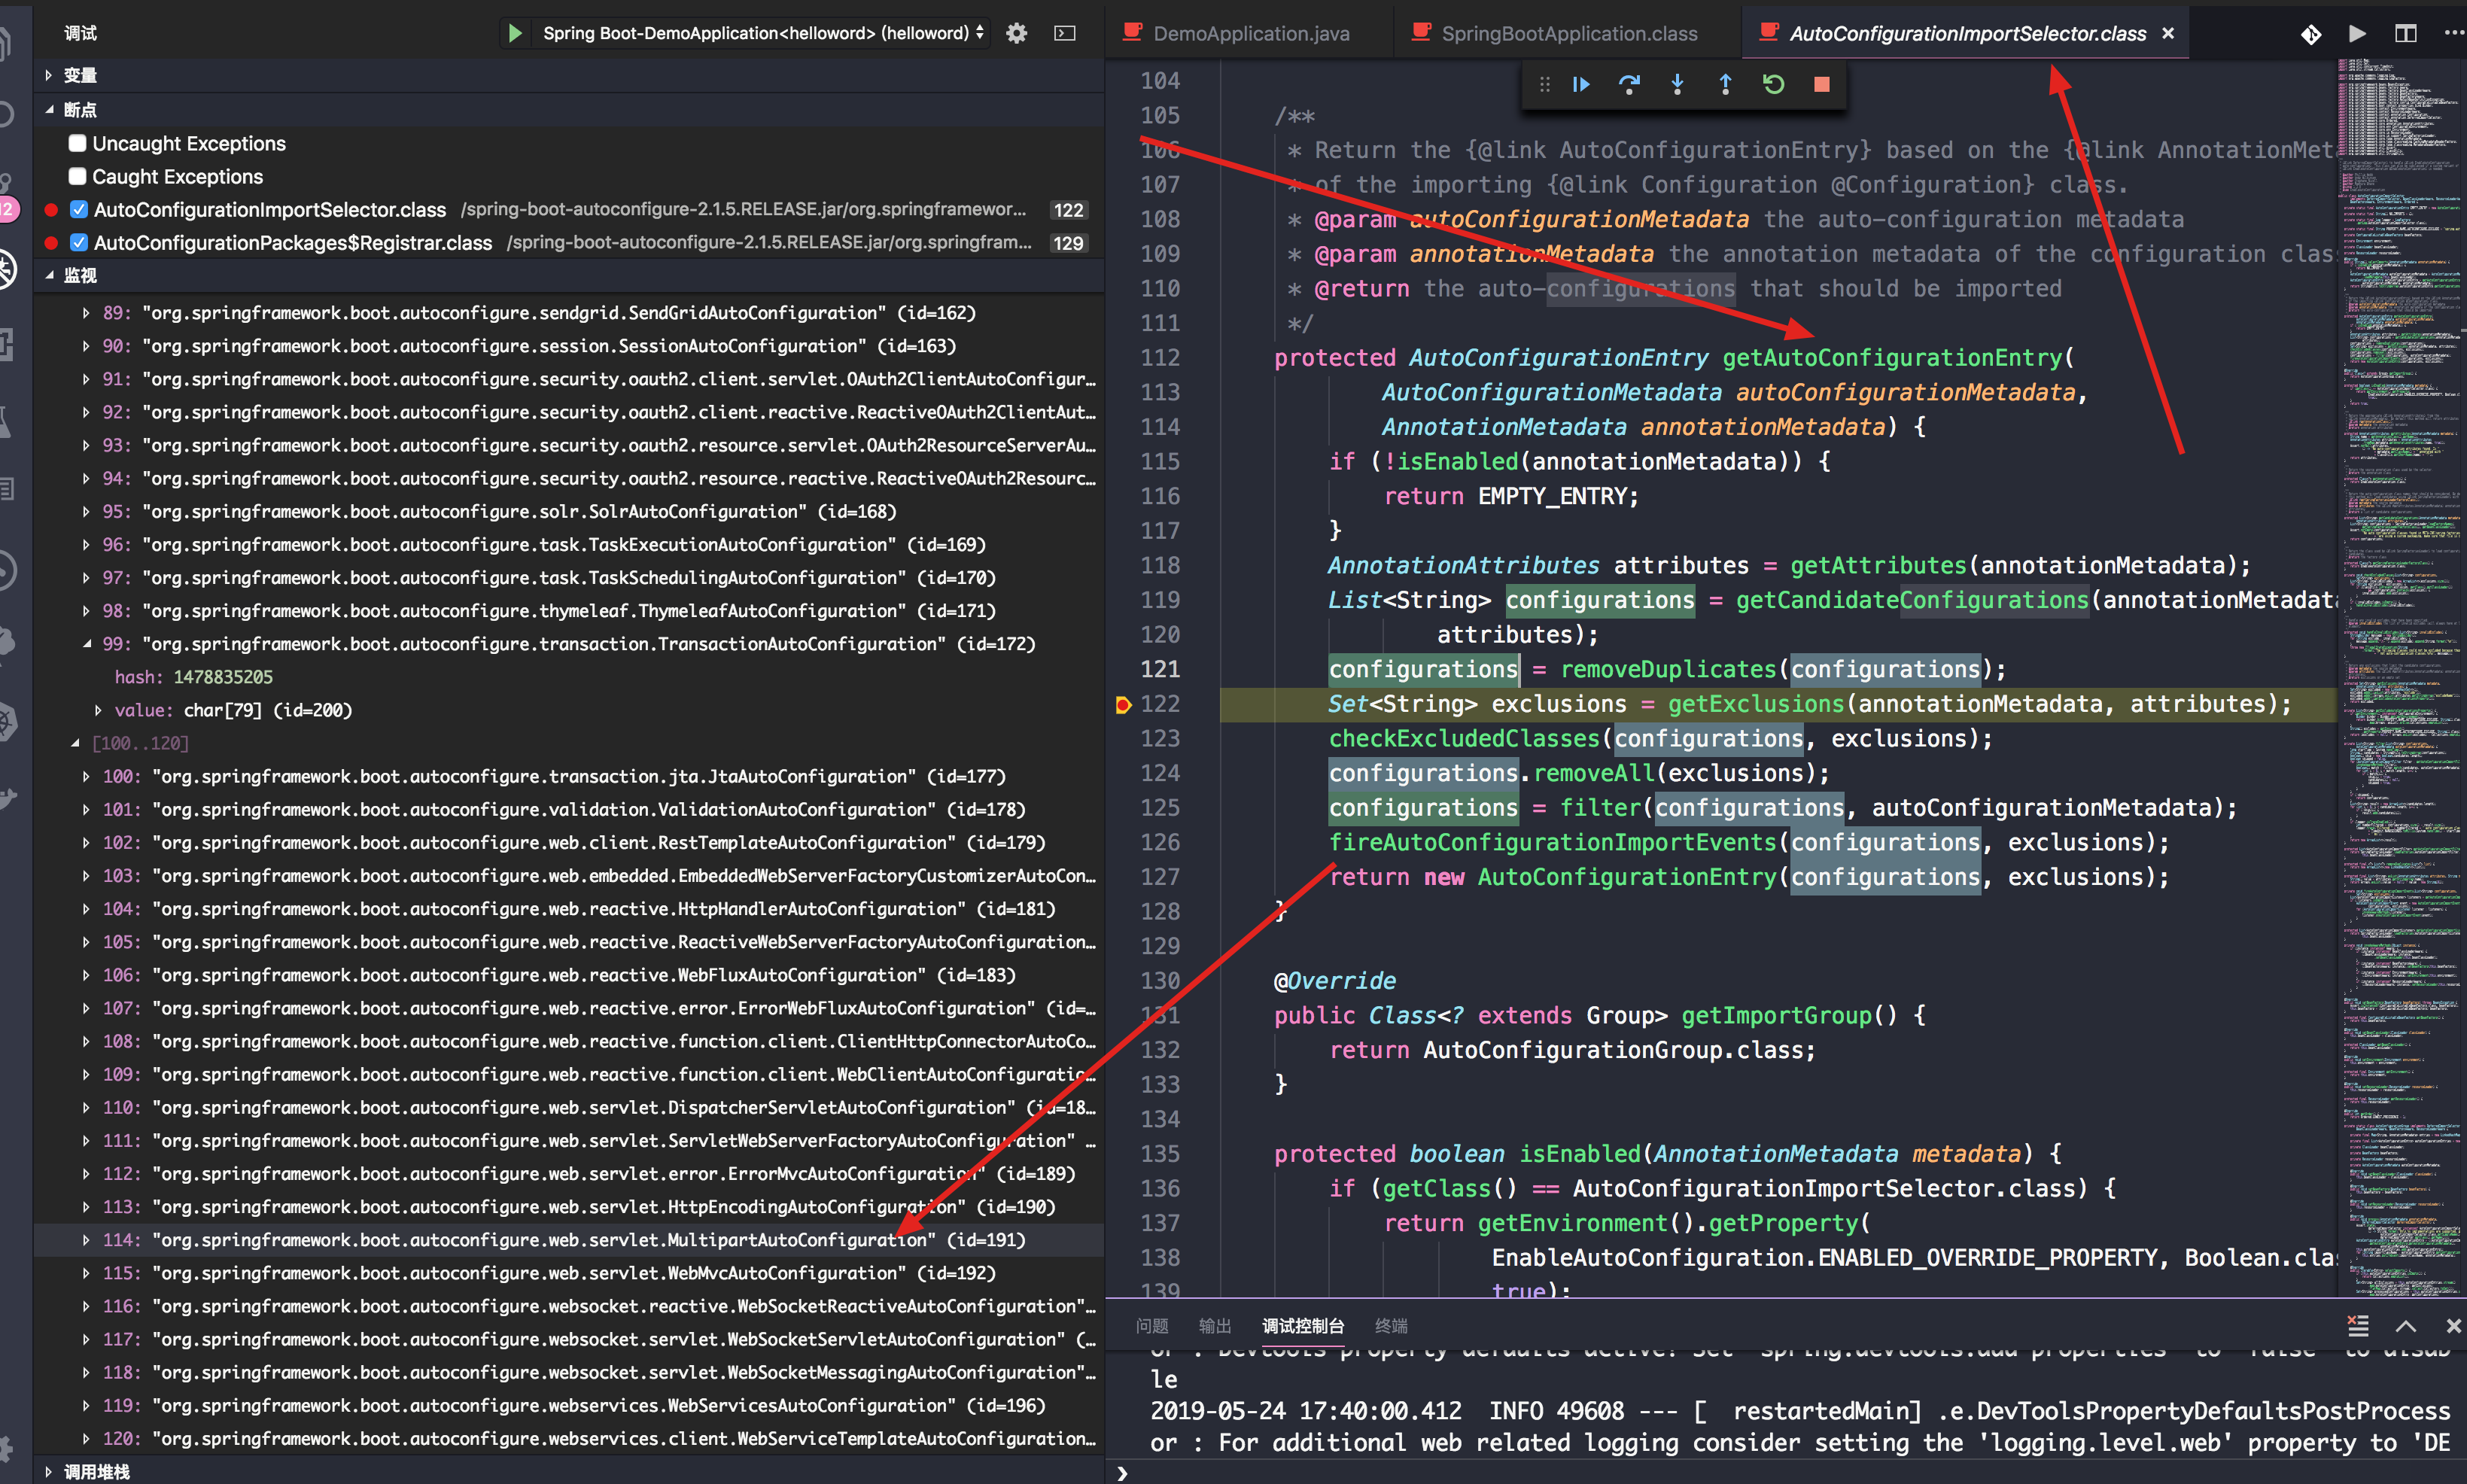
会给容器中导入非常多的自动配置类(xxxAutoConfiguration);就是给容器中导入这个场景需要的所有组件,并配置好这些组件;这些配置类就提供了我们在写yml文件的时候,默认的一些属性值, 如下:
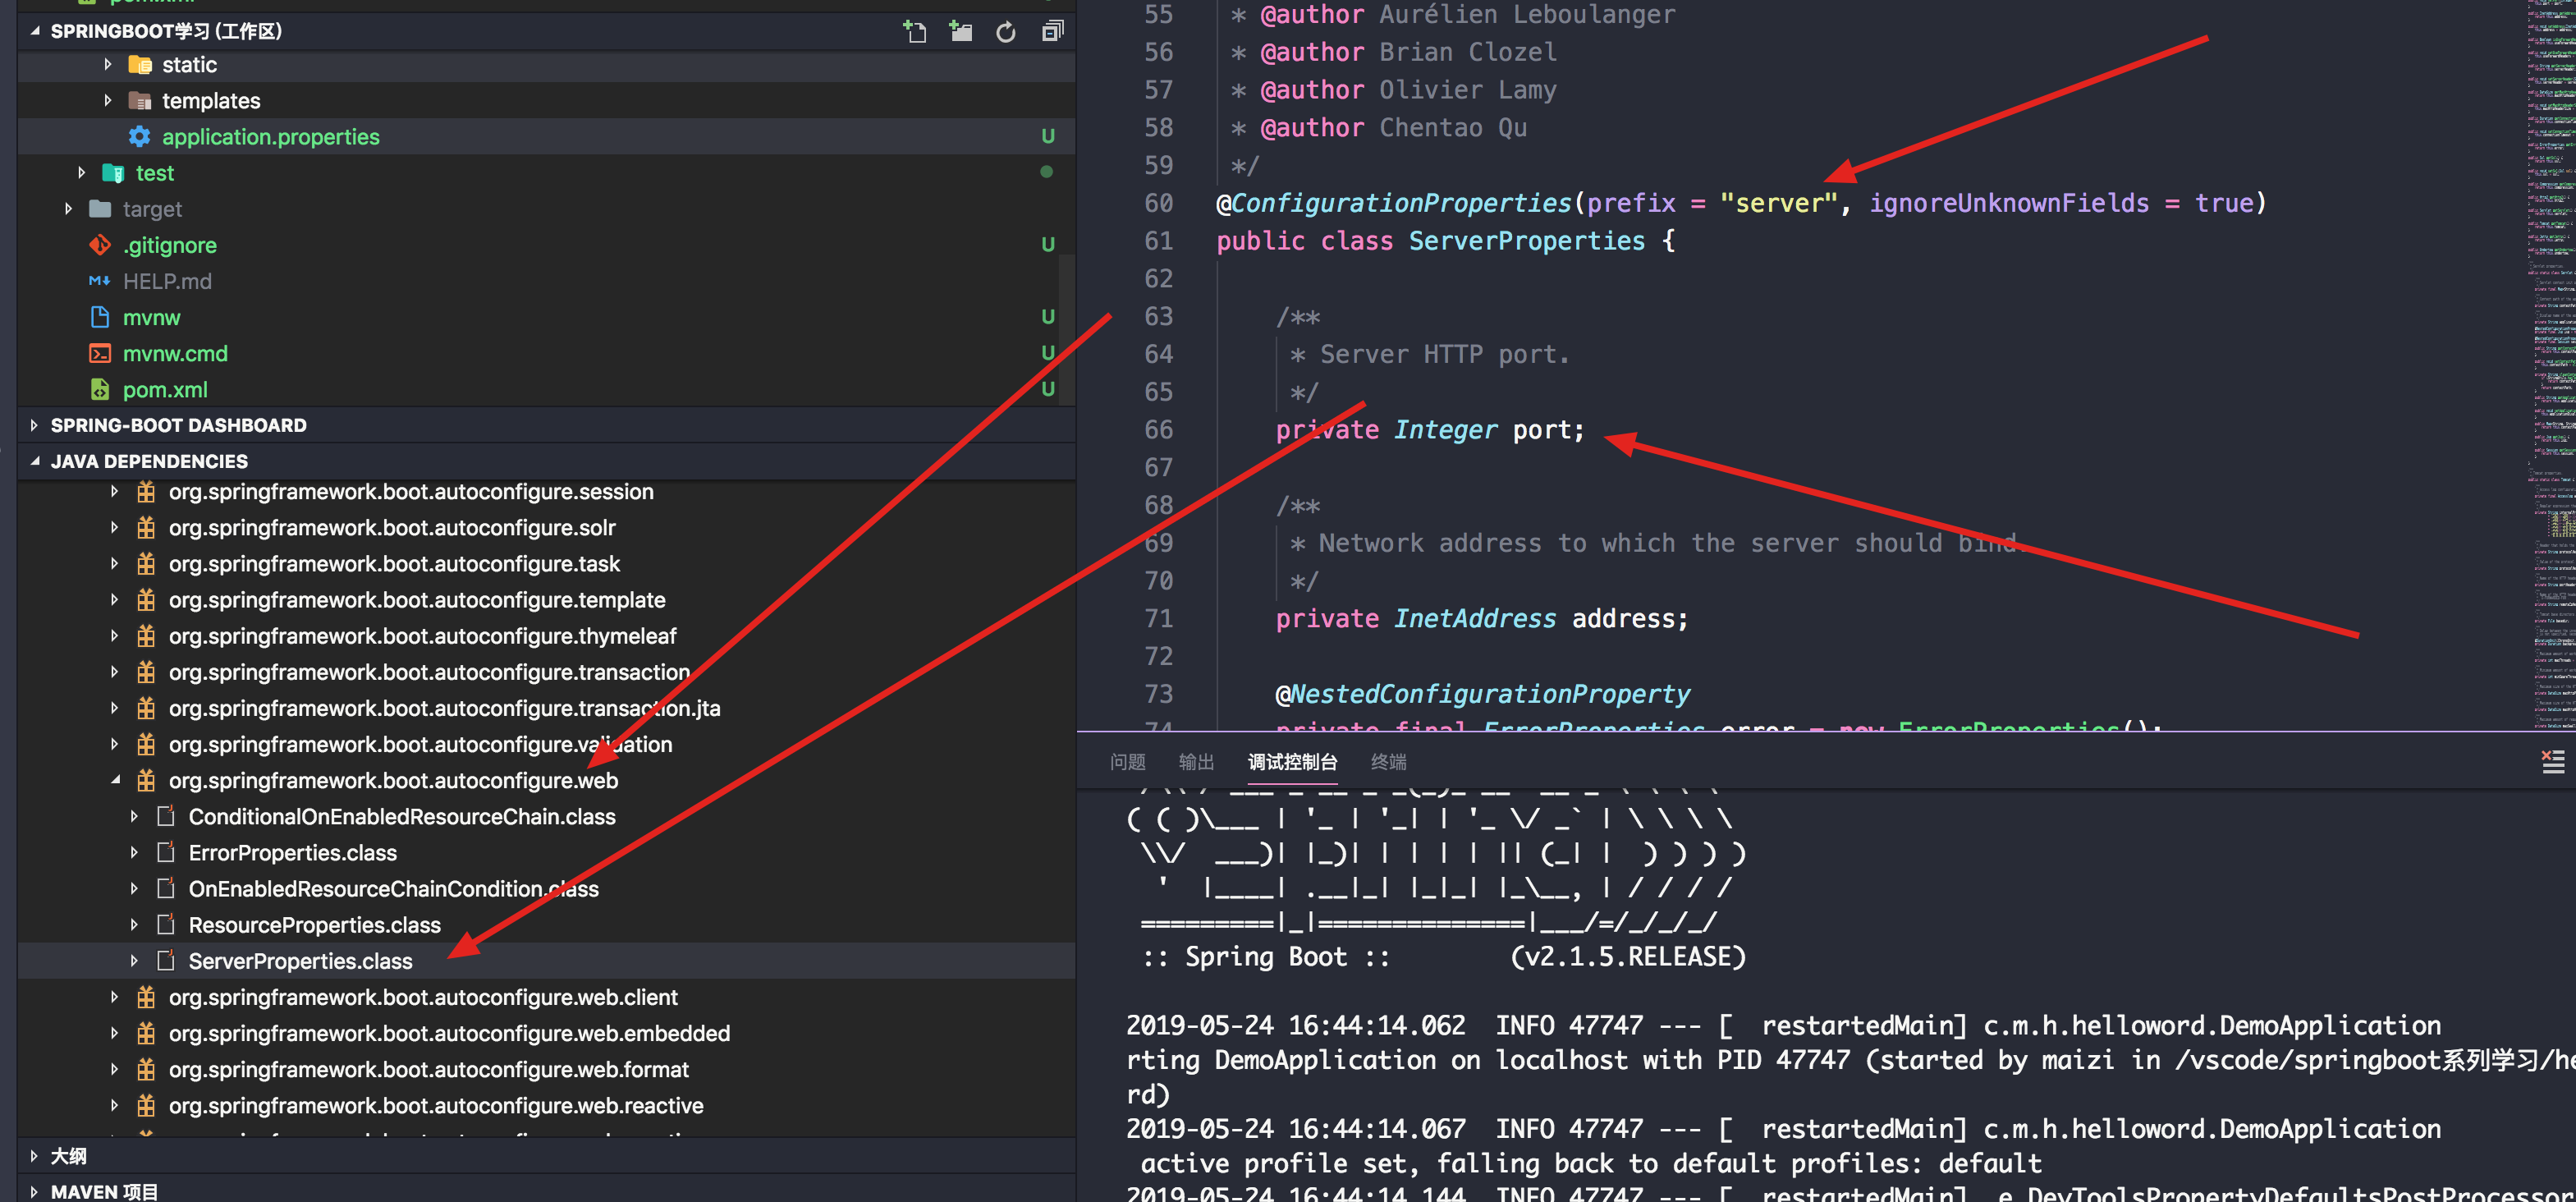
对应的就是 server.port=8081
J2EE的整体整合解决方案和自动配置都在spring-boot-autoconfigure-1.5.9.RELEASE.jar;
springboot知识导图笔记
「真诚赞赏,手留余香」
